Cladding
Options
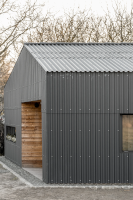
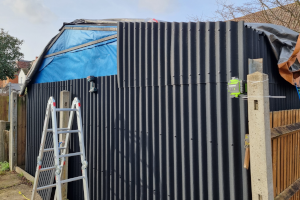
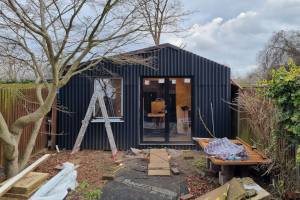
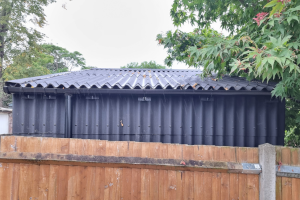
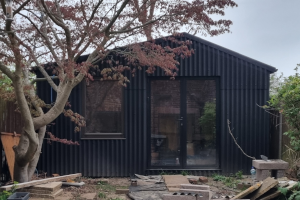
You’ve got a good set of options when it comes to cladding a shed. I was won over by corrugated cladding, reminiscent of light industrial buildings on the outskirts of my hometown and, in theory, easy to work with.
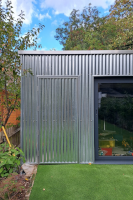
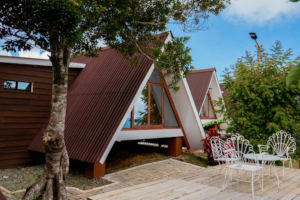
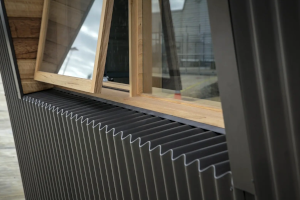
You can get corrugated cladding in a range of materials, including fibre-cement, galvanised or painted steel and Onduline/Corruline. One company has even developed a way to form right angles across the corrugations.
See House in the Walnut Grove, Trade Warehouse Galvanised Roof Sheets, Onduline Roofing Systems and FormFlow C90 for more.
Ordering
I ordered the cladding from Wickes, the eaves fillers, screws and ridge tiles from eDecks.co.uk and the verge tiles from Southern Sheeting.
I used about 34 full sheets of Onduline, four ridge tiles, 800 screws and 13 verge tiles.
Preparation
There were three prep tasks before I could install: affixing the membrane, affixing the battens and planning the Onduline layout.
Membrane
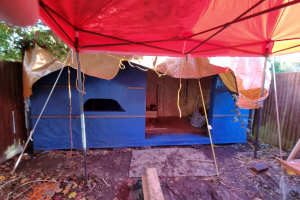
The SIP panels were supplied with a large roll of unbranded waterproof membrane, which was enough to do the whole job. I had bought some Rhinovent to do the roof, but it wasn’t needed.
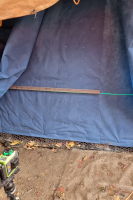
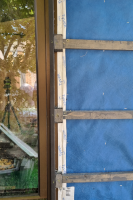
I worked my way around the building and managed to wrap most of it in a single pass. Some small offcuts were needed for the tops of the walls and a couple more passes for the roof. I stapled liberally with a cheap stapler, which was a false economy as it jammed every third staple or so. I made sure there were generous overlaps between layers but didn’t bother to tape all the seams.
Battens
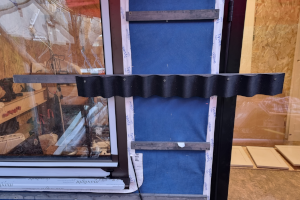
In retrospect, I’m not sure that the battens were really necessary. In theory, they provide ventilation to dry out the gap between cladding and membrane, but I suspect there would have been reasonable ventilation due to the cladding corrugations. Anyway, I spaced the battens at 600 mm centres and fixed them with the 4.5 x 50 mm external screws.
Planning
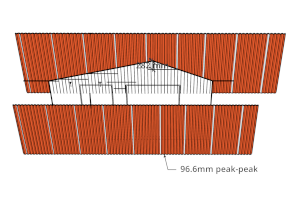
I used SketchUp to plan the layout of the cladding. I was aiming to:
- Avoid any very thin strips of cladding.
- Stagger the joins between sheets.
- Avoid any large gaps around the opening, to fill with wood trim.
Installation
Walls
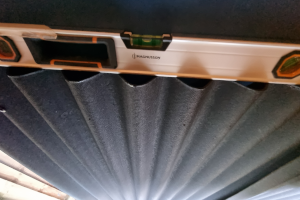
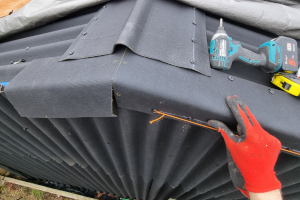
The panels are easy enough to handle as they only weigh about 6.5 kg each. Getting the first panel right made the rest of the job bearable, even working alone, though it would be much easier with two. The panels are held in place with Onduline 60 mm Philips’ head screws, which are self-tapping and have a flexible washer. I would fix the top-right corner, rest my small level on the top of the panel and then screw in the top-left corner. You can pilot the holes with a 3 mm bit, which can be helpful for the first couple of panels, but I ultimately found it quicker to just screw straight in.
I started on the front and worked around to the right hand side. I then worked left from the front (clockwise as viewed from above). This meant that when the runs met, they did so on the right hand side where nobody could see. As it transpired, it was a tidy joint, but I was prepared to have an odd, small panel or similar not-ideal fix. If I had started on the front, it would have made working
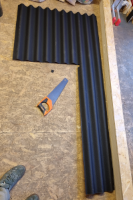
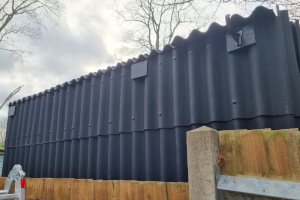
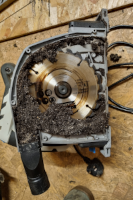
I then did the second, higher, horizontal band, overlapping the panels by 130 mm and staggering the panels by 50%. I cut the panels to match the roofline on the ground with a circular saw. The non-standard roof pitches made this a lot harder than it should have been.
Door and Window Trim
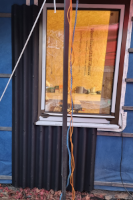
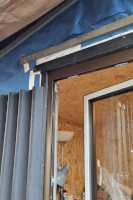
I filled in the sides and top around the doors and windows with wooden strips, painted with black Bedec Barn Paint.
I fixed the side strips to the battens, with a bead of black silicone behind them. I fixed the top strips directly to the walls.
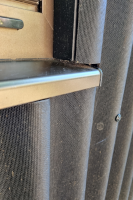
I left the side trims a few mm short of the cills for drainage.
Roof
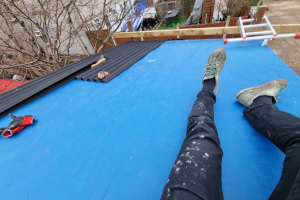
The roof was pretty simple by comparison, though everything takes a bit longer when you’re up a ladder. I made a rail with spare timber in case I slid off, particularly on the steeper side.
Note that I didn’t batten the roof, but I did add an extra layer of 11 mm OSB all over, to give the screws extra pullout strength.
For the ridge of the roof, I could have used either the Onduline verge or Onduline ridge tiles. I opted for their ridge tiles. For the gable ends (the front and back of the shed), I used the Onduline verge tiles. Where the ridge met the gable ends, I ran the verge tiles over the roof sheets and then the ridge tiles over the verge tiles. To avoid a verge tile seam at the crest, I bent a tile by half cutting it and then heating it with a hairdryer.
Gutters
I bought all of my gutter supplies from drainagepipe.co.uk:
- FloPlast 112 mm half-round gutter (3 m lengths x2)
- FloPlast half round gutter fascia brackets (x12)
- FloPlast half round gutter stop ends (x4)
- FloPlast half round gutter running outlet (x2)
- FloPlast balloon leaf guard (x2)
- FloPlast 68 mm round downpipe (2.5 m lengths x2)
- FloPlast 68 mm round downpipe clip (x6)
- FloPlast 92.5 degree round downpipe bend (x4)
I didn’t need quite that many fascia brackets because there are screw holes in the running outlets, but that wasn’t clear from the photos.
I made OSB mounts for the brackets and clips, since they are designed to be screwed into a flat surface, not the cladding corrugations. I expect I’ll have to replace the OSB mounts at some point, as they are only partly protected by the roof overhang.
My plan was to dig a soakaway in the garden and run underground drainage to it, from the bottom of the downpipe. I may eventually do that but, for now, the downpipes run into flower beds.
Thoughts
I’m happy with the overall look of the cladding and I think it’s durable enough for the job. I was probably a bit too exact with the alignment of the screws on the portion of the back and sides that will never be seen again. That time could have been better spent coming up with a nicer gutter mount system.
Tools Used
- Drill gun and impact driver
- Laser level and tripod
- Spirit level
- Chalk line
- Hand saw
- Stanley knife
- Circular saw
- Pica DRY pencil
- Ladder
Player of the Match
Paired with red and yellow lead, my Pica DRY pencil was very easy to see on the membrane, battens, cladding and trim.
What I’d do Differently
If I were to do things again, I’d give more serious consideration to fibre cement and steel. I don’t think either would be as clean or easy to cut but steel’s malleability might lend itself to some interesting details around the openings and roofline. It’s available in plain galvanised, which could look pretty unusual. Steel is thermally conductive, though, so can’t be great for heat retention.
The main benefit of fibre cement, as far as I can see, would be the ability to overhang the front and rear cladding a little, simplifying the roofline. It’s probably a little more weather resistant in the long run too. I’d be curious to hear from anyone who has used it for cladding, particularly to know how brittle it is and how carefully you need to be when cutting.
