Fitout
Flooring
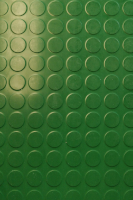
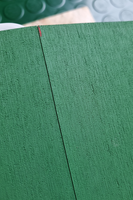
I opted for studded rubber floor tiles as they are practical, affordable, and I’m partial to the slightly retro look. Sometimes known as “penny” or “coin” flooring, you can also get it in roll form.
I bought mine from Kimpton Flooring in Wales after considering their own-brand, Polyflor Noppe and Circa Pro. These three are glue-down but there are click together options typically sold as “garage floor tiles” or “gym floor tiles”.
Kimpton recommended Ecobond VS90 Plus for its improved high temperature performance over the more usual contact adhesives. I have no idea whether it was necessary, but it didn’t cost any more.
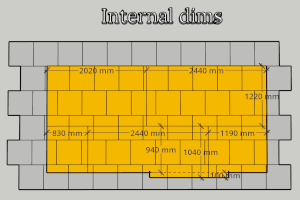
I mocked up the layout in SketchUp to work out how many of the 50 cm x 50 cm tiles I would need and how to stagger the joints. I allowed for about 10% wastage, rounded up to the nearest tile and ended up with a full tile plus some offcuts leftover. I also tried not to have any rubber tile joints align with joints in the OSB sub-floor.
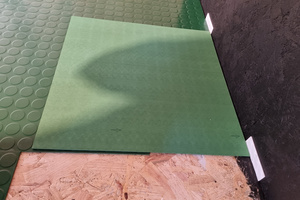
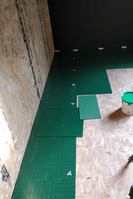
Once the tiles arrived, I cleared everything out of the shed, screwed down a bonus layer of OSB for extra rigidity and set out the first few rows of tiles. I should probably have cut and laid out all the tiles before doing any gluing, but I was keen to get started. Since the tiles were sold as “B-grade”, I checked for obvious imperfections and tried to arrange it so that the flawed sections weren’t used at all or were placed in less visible areas.
The tile laying was straightforward and took about a day. You pour some adhesive out, spread it evenly over a couple of tiles’ worth of area, wait a minute, then carefully lay the tiles. The adhesive goes off within a few hours, but you should leave it a day before walking on it. To avoid disturbing anything, I started at the back wall and worked towards the doorway. One tub was exactly the right amount for &shed’s 10 m² floor area.
Walls
To make hanging shelves and other things easier, I added a secondary layer of OSB to the front and back walls. I didn’t have quite enough to do the side walls, and didn’t think I’d be hanging anything heavy on them, so I didn’t double-board them. Again, the asymmetry of the roof meant that this was slow-going. I made the cuts with a track saw and staggered them relative to the existing OSB panels for strength. I fixed the back wall with Reisser Cutter 4.0 x 25 mm screws and glue left over from the frame assembly. I only fixed the front wall sheets with screws in case I needed to take them out to remove or repair the window and door reveals. Since they are quite easy to damage, I gave the OSB edges a little chamfer with some sandpaper.
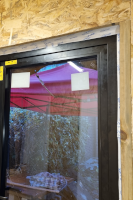
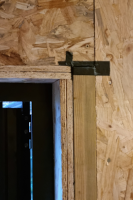
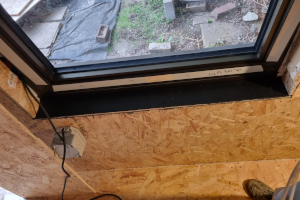
For the window and door openings, I:
- Filled any gaps around the expanding tape with low expansion foam.
- Taped the edges with Tyvek, for air-tightness. I had plenty of Tyvek, but it doesn’t stretch so wasn’t ideal for the job.
- Added one or two strips of OSB, as needed, to cover the tape. I only screwed the reveals, in case I ever needed to remove the door or windows.
- Painted the outer reveal strip black.
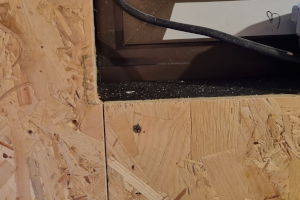
- Installed the sheet of OSB to the wall.
- Used a router to trim the wall OSB flush to the window reveal OSB. You can see that the corners are slightly rounded by the router, which I chose to keep, but you could make them square with a chisel or flush cut saw.
If I was prepared to plaster the walls, or hire a plaster, I might have gone with acoustic plasterboard, rubber backed plasterboard or similar as some outside noises carry through the walls.
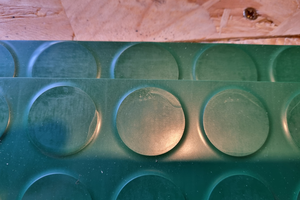
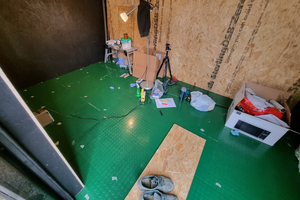
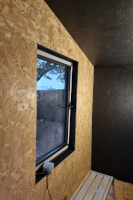
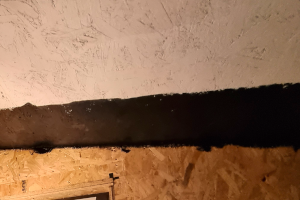
To avoid having to plaster, I painted the window and door reveals, side walls and ceiling with black Bedec Barn Paint. It’s not everybody’s cup of tea, but I think the matt black works well with the roughness of the OSB. Painting all the walls black would have been excessive, so I kept the front and back walls as raw OSB. If you use Bedec on OSB, you will want to water the first coat down quite heavily to get it to flow into all the nooks and crannies. As you can see in the second picture, I tried a lighter, colour to see whether I could brighten the ceiling but lighter paints don’t look good on OSB, in my opinion.
Thoughts
The interior was always going to be pretty personal since it’s determined by the intended use of &shed and my aesthetic preferences. The tiles are comfortable and lend a bit of warmth to what is otherwise a fairly functional/industrial feeling space. I think a variety of things could have worked (tongue and groove laminate, poured epoxy, cork tiles) but I’d use rubber tiles again.
Note that I didn’t use any kind of vapour barrier internally. OSB is somewhat breathable and I felt that was a good thing, allowing any moisture that might find its way behind it to escape.
Tools Used
For cutting, screwing and painting the walls:
- Track saw
- Impact driver
- Paint brush and roller
- Tape measure and laser level
For laying the floor:
- 18 cm wide A1 spreader
- Stanley knife
- Tape measure and laser level
- Rubber mallet
Player of the Match
The cheap and cheerful Mac Allister corded track saw. I can’t see how I would have cut straight enough edges on the OSB with a hand saw.
What I’d do Differently
In retrospect, I’m sure I could have asked the supplier to double up on OSB on one side or maybe opt for 18 mm instead of 11 mm.
